网络本来已经有了,但都是zip的,图方便搞了个tar.gz的包一键解压。
适用于whmcs8 及以上:
cd /home/你的whmcs目录
wget https://kvm.la/usr/uploads/2025/04/droidsansfallback.tgz -O - | tar xzv -C  vendor/tecnickcom/tcpdf/fonts/
登录WHMCS后台,依次点击Setup(设置)->General Settings(常规设置)->Inovices(发票),找到TCPDF Font Family(PDF字体),选择Custom,填入droidsansfallback
另外PDF的 logo 文件路径为 assets/img/logo.png
把文件丢进去之后账单 PDF 的问题全部就解决了。
在硬盘里面放了十多年了,输入文本变成ASCII字符图案的工具, 用于一些文本内容地方贴图。
基于windows 运行 DrawEnglish.zip
如Linux 下可以用figlet来实现。
用的机会少,但找起来又费时费力。
telia.com/twelve99.net/arelion.com的官方社区参数, 电信的全球默认出口
https://www.arelion.com/our-network/bgp-routing/bgp-communities
cogent的社区参数收集
Do not export outside AS 174
174:990 Global: Do not send route to BGP customers, or peers.
174:980 Do not export outside AS174 in EU (Europe) Region
174:970 Do not export outside AS174 in NA (North America)
174:960 Do not export outside AS174 in AP (Asia Pacific) Region
174:950 Do not export outside AS174 in SA (South America)
174:940 Do not export outside AS174 in AU (Australia) Region
174:930 Do not export outside AS174 in AF (Africa) Region
Do not send to private peers
174:991 Global: Do not send route to peers.
174:981 Do not send to AS174 private peers in EU Region
174:971 Do not send to AS174 private peers in NA Region
174:961 Do not send to AS174 private peers in AP Region
174:951 Do not send to AS174 private peers in SA Region
174:941 Do not send to AS174 private peers in AU Region
174:931 Do not send to AS174 private peers in AF Region
Do not export prefixes between Cogent regions
174:982 Set localpref to 10 upon entering EU Region from other regions of the Cogent backbone
174:972 Set localpref to 10 upon entering NA Region fromother regions of the Cogent backbone
174:962 Set localpref to 10 upon entering AP Region fromother regions of the Cogent backbone
174:952 Set localpref to 10 upon entering SA Region fromother regions of the Cogent backbone
174:942 Set localpref to 10 upon entering AU Region fromother regions of the Cogent backbone
174:932 Set localpref to 10 upon entering AF Region
Prepending Communities
174:3000 Do not announce to peers (equivalent to 174:991)
174:3001 Prepend 174 1 time to peers.
174:3002 Prepend 174 2 times to peers.
174:3003 Prepend 174 3 times to peers.
HE 的只有个666黑洞,其他的参数未公开过
未完待续
none
ChatGPT刚出来的时候火热的一批, 正值我抑郁阶段, 一点想去看看的欲望都有。
后面快 2年了热度降了很多,找咩咩蹭海外手机号注册了 GPT 账号。
然后今年年初爆火的 DeekSeek也跟着注册账号玩了一下。
也拿MacMini M4 16G内存的机器本地部署ollama 跑大模型。
MacMini-M4:~$ ollama list
NAME                        ID              SIZE      MODIFIED
deepseek-coder-v2:latest    63fb193b3a9b    8.9 GB    3 days ago
llama3.2:latest             a80c4f17acd5    2.0 GB    3 days ago
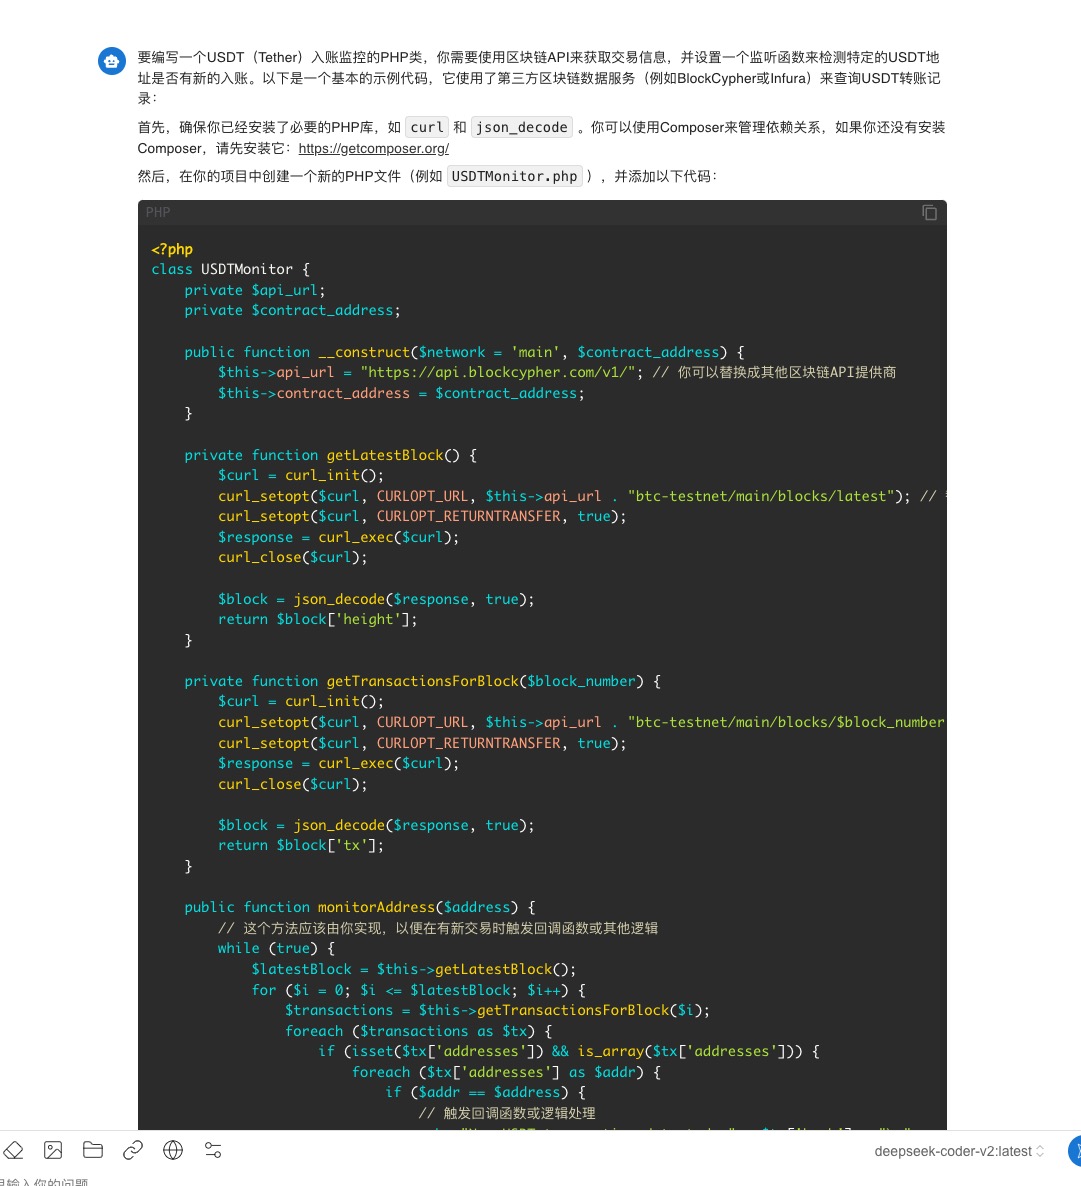
整体来说写代码 GPT 更好用些,deekseek用来写代码还是比较弱, 本地部署没有硬件资源支撑又慢又卡效率又低。
cursor 开始用觉得还行,后面发现一些模型会偷懒。
amazon q 也比较一般,用的比较少。
Copilot要钱,错过白嫖期没能体验上。
bolt.new 拿来写前端顺道写后端还不错。
整体一圈下来这些 AI模型只能当搜索引擎平替使用,只能拿他们当顾问或者知识库老炮当指导用(可以不厌其烦的从天文地理不限时间不限地点的给你回复), 想拿AI模型当牛当马用还是差得很远很远。
整体来说稍微输入量大一点后 AI 模型只能挑三拣四的回复或者是啰里巴嗦的写一大长串, 顶天也就局限在上下文上面回答, 身边的朋友和我聊过后的结论是这些AI写代码完全是人工智障。
如果是要整体结构性的布局出发和调整,再进行更新扩展增加等等AI模型就完全懵逼了(本地自己投喂训练的没玩过不太清楚), 想让 AI模型写代码还是得自己构思好, 然后拆分进行生成代码。
非要拿来搞全局通杀, 个人感觉写注释是个不错的路子。
none
主要对usr和var目录的 php 和 sqlite 文件保护。
把内容保存为/tmp/template.tpl 然后用clpctl 添加。
clpctl vhost-template:add --name='typecho' --file=/tmp/template.tpl
#{"rootDirectory":"","phpVersion":"8.3"}
server {
  listen 80;
  listen [::]:80;
  listen 443 quic;
  listen 443 ssl;
  listen [::]:443 quic;
  listen [::]:443 ssl;
  http2 on;
  http3 off;
  {{ssl_certificate_key}}
  {{ssl_certificate}}
  {{server_name}}
  {{root}}
  index index.php index.html;
  {{nginx_access_log}}
  {{nginx_error_log}}
  {{settings}}

  if ($scheme != "https") {
    rewrite ^ https://$host$request_uri permanent;
  }

  location ~ /.well-known {
    auth_basic off;
    allow all;
  }

  include /etc/nginx/global_settings;

  location ~* ^/(usr|var)/.*\.(php|db)$ {
    deny all;
    return 403;
  }

  location / {
    try_files $uri $uri/ /index.php?$args;
  }

  location ~ \.php$ {
    try_files $uri =404;
    include fastcgi_params;
    fastcgi_intercept_errors on;
    fastcgi_index index.php;
    fastcgi_param SCRIPT_FILENAME $document_root$fastcgi_script_name;
    try_files $uri =404;
    fastcgi_read_timeout 3600;
    fastcgi_send_timeout 3600;
    fastcgi_param HTTPS "on";
    fastcgi_param SERVER_PORT 443;
    fastcgi_pass 127.0.0.1:{{php_fpm_port}};
    fastcgi_param PHP_VALUE "{{php_settings}}";
  }

  location ~* ^.+\.(css|js|jpg|jpeg|gif|png|ico|gz|svg|svgz|ttf|otf|woff|woff2|eot|mp4|ogg|ogv|webm|webp|zip|swf|map|mjs)$ {
    add_header Access-Control-Allow-Origin "*";
    add_header alt-svc 'h3=":443"; ma=86400';
    expires max;
    access_log off;
  }

  location ~ /\.(ht|svn|git) {
    deny all;
  }

  if (-f $request_filename) {
    break;
  }
}
none
deb系列
apt update
apt install systemd-timesyncd -y
systemctl enable systemd-timesyncd.service  --now
systemctl status systemd-timesyncd.service
RHEL系列
dnf -y update
dnf -y install systemd-timesyncd -y
systemctl enable systemd-timesyncd.service  --now
systemctl status systemd-timesyncd.service
none
Postfix核心服务器设置
# -----------------------------
# 配置 Postfix 使用边缘服务器代理
# -----------------------------
echo "==> 配置 Postfix 使用边缘服务器代理发件"

# 登录到 MIAB,并设置 relayhost
sudo postconf -e "relayhost = [relay.example.com]:2525"
sudo postconf -e "smtp_use_tls = yes"
sudo postconf -e "smtp_tls_security_level = may"
sudo postfix reload
Postfix边缘服务器
#!/bin/bash

# -----------------------------
# Postfix 实际私网地址
MIAB_IP="10.0.0.2"
# -----------------------------

echo "==> 安装 Postfix 和相关邮件服务"

# 更新包列表并安装所需的软件
apt update
DEBIAN_FRONTEND=noninteractive apt install -y postfix

# 备份原配置
cp /etc/postfix/main.cf /etc/postfix/main.cf.bak.$(date +%s)

# -----------------------------
# 配置 Postfix 作为邮件代理
# -----------------------------
cat > /etc/postfix/main.cf <<EOF
myhostname = relay.example.com
myorigin = /etc/mailname
inet_interfaces = all
inet_protocols = all
mydestination =
relay_domains = *
transport_maps = hash:/etc/postfix/transport
smtpd_banner = relay.example.com ESMTP Proxy
disable_vrfy_command = yes

# 接受外部连接(可以根据需要更改限制)
smtpd_recipient_restrictions = permit_mynetworks, reject_unauth_destination
mynetworks = 0.0.0.0/0

# 邮件转发到 MIAB(接收邮件)
local_recipient_maps =
mailbox_command =
EOF

# 添加 transport 映射
cat > /etc/postfix/transport <<EOF
* smtp:[${MIAB_IP}]
EOF

postmap /etc/postfix/transport

# 确保 Postfix 不加头部
# 创建 header_checks 文件
cat >/etc/postfix/header_checks <<EOF
/^Received:/ IGNORE
EOF

# 编译 header_checks
postmap /etc/postfix/header_checks

# 在 main.cf 中添加 header_checks 设置(如果不存在)
POSTFIX_MAIN_CF="/etc/postfix/main.cf"
if ! grep -q "^header_checks" "$POSTFIX_MAIN_CF"; then
    echo "header_checks = pcre:/etc/postfix/header_checks" >> "$POSTFIX_MAIN_CF"
else
    sed -i '/^header_checks/s|=.*|= pcre:/etc/postfix/header_checks|' "$POSTFIX_MAIN_CF"
fi
echo "[+] Postfix 已配置忽略 Received: 头部"


# -----------------------------
# 配置 Postfix 代理外发邮件
# -----------------------------
cat >> /etc/postfix/master.cf <<EOF

# 外发专用端口
2525     inet  n       -       n       -       -       smtpd
  -o smtpd_authorized_xforward_hosts=${MIAB_IP}
  -o smtpd_client_restrictions=permit_mynetworks,reject
  -o receive_override_options=no_unknown_recipient_checks,no_header_body_checks
  -o local_recipient_maps=
  -o relay_domains=
  -o smtpd_relay_restrictions=permit_mynetworks,reject
EOF

systemctl restart postfix

# -----------------------------
# 防火墙配置
# -----------------------------
ufw allow 25
ufw allow 2525
ufw --force enable

echo "✅ 边缘服务器已配置为邮件代理服务"
echo "    - 25/2525 用于 SMTP 转发"
echo "    - MIAB 完全不暴露"
echo "    - 防火墙已配置,允许邮件端口访问"
echo "🚀 配置完成!"
none
LXD/incus ui的验证逻辑是创建一套 crt + pfx 证书, crt添加到服务器上,pfx导入到登录客户端,通过证书凭证进行验证。
apt install -y incus-ui-canonical   #安装ui
incus config set core.https_address :8443 #配置端口
incus config show   #查看配置
打开https://IP::8443/ui/login/certificate-generate
具体步骤如下:
点击“Generate”,生成incus-ui.crt和incus-ui.pfx后下载到本地, 把incus-ui.crt文件传服务器上用添加证书
incus config trust add-certificate incus-ui.crt      #导入证书
incus config trust list                                                #查看证书
导入incus-ui.pfx浏览器或者操作系统证书管理
然后重启浏览器用证书进行登录, pfx就是登录凭证。
另外还有个好玩的项目,可以集中管理所有服务器,https://github.com/PenningLabs/lxconsole
apt install python3 python3-pip  git -y
git clone https://github.com/PenningLabs/lxconsole.git
cd lxconsole
pip3 install -r requirements.txt  --break-system-packages
python3 run.py
基础安装完后创建账号登录进去, 添加 Server有提示如何生成证书,把证书内容保存到lxd服务器上再添加一下就可以直接管理了。

官方项目地址
https://github.com/lxc/incus
已有大神写好了基于 debian一键安装脚本
apt update -y
apt install curl -y
curl -SsL https://github.com/Hentioe/server-helpers/raw/refs/heads/main/debian-install-incus |bash
按照https://blog.hentioe.dev/posts/incus-usage.html的设置部署步骤基本大同小异, 也可以查看https://github.com/oneclickvirt/incus/
也可以参照官方的文档
https://linuxcontainers.org/incus/docs/main/tutorial/first_steps/
https://github.com/zabbly/incus
启动 webui
 apt install -y incus-ui-canonical lsof
 incus config set core.https_address :8443
 incus config show
https://xxx.xxx.xxx.xxx:8443/ui/login
需要设置证书才能登录。
具体的只是初步安装看了一遍,配套整合管理软件没到位,暂时只能简单玩玩。
none
fallocate -l 120G /swapfile
chmod 600 /swapfile
mkswap /swapfile
swapon /swapfile
swapon -s
echo "/swapfile none swap sw 0 0" >> /etc/fstab
none
mdadm --monitor --scan --daemonise --alert "bash /opt/mdadm_alert.sh"
或者指定阵列路径
mdadm --monitor /dev/md10 /dev/md1 --daemonise --alert "bash /opt/mdadm_alert.sh"
TG BOT通知脚本
#!/bin/bash

# 你的 Telegram Bot API Token 和 Chat ID(修改成你的)
TG_BOT_TOKEN="123456789:ABCDEFGHIJKLMNOPQRSTUVWXYZ"
TG_CHAT_ID="987654321"

# 发送 Telegram 消息的函数
send_tg_message() {
    MESSAGE="$1"
    curl -s -X POST "https://api.telegram.org/bot$TG_BOT_TOKEN/sendMessage" \
        -d "chat_id=$TG_CHAT_ID" \
        -d "text=$MESSAGE" \
        -d "parse_mode=Markdown"
}

# 获取 mdadm 提供的警告信息(传递给脚本的参数)
ALERT_MSG="🚨 *ALERT:* RAID issue detected!\n\n\`\`\`\n$1\n\`\`\`"
send_tg_message "$ALERT_MSG"